How to create a quick and easy website in India?
 You are neither a tech geek nor you have budget to invest on some web developer, still, you want to have a website in a quick and easy way, how? Web designing is not a taboo anymore; any amateur can easily build a website without much assistance.
Faster and easier, the words have seemingly become a catchy phrase among non-coding website developers. So think about the time, about the belief when one had to know programming for doing such stuff.
How is this possible? If we look back our code geeks used to work day and night, moving only their eyeballs across the screen, but today I think it has lessened a bit. Why do think is that? Or, how do you think it has become possible?
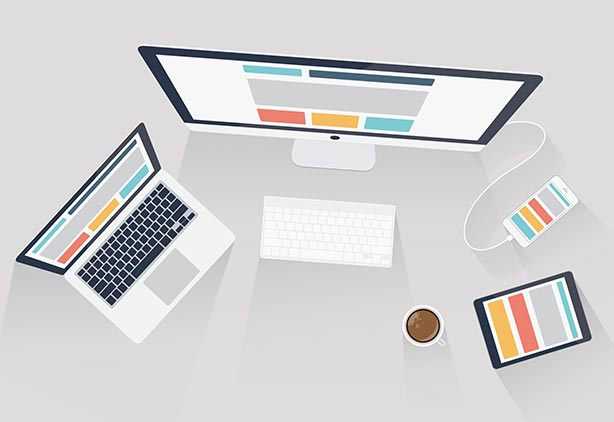
If we look into today’s reality, no matter how small it is, a basic website is a must for your business. The need to have online presence has become quite necessary, and if you think you cannot afford to hire a web developer then worry not. We have numerous website development tools that will help you to get going with your ideas.
THINGS YOU SHOULD HAVE FOR BUILDING A WEBSITE
- Website Building Software
- Domain Name
- Business Email Address
- Website Hosting
- Logo & Website Template Designs
- High-Quality Images
- Image Editor
- Google Analytics
STEPS TO FOLLOW: HOW TO CREATE A SIMPLE WEBSITE?
- CHOOSE THE PLATFORM
- Starting with a right website building platform is very crucial for a business. If you are an amateur, then WordPress will be the best option to start with. Apart from WordPress, we have Joomla, Drupal and much more, but again make sure what is relevant for your business and think whether it is manageable from your side.
- CHOOSE THE WEBSITE NAME
- This does not need much guidance, but still, choose a name that looks both professional and relevant for your business.
- HOSTING & DOMAIN NAME
- Domain name is nothing but the name of your website, it is the website name followed by domain extensions like .com, .org, .net, and etc. it is an identification given to your website. A computer recognizes your website through IP addresses, whereas for humans it is through a simple website name.
- Once you get hold of a name, you should host it so that your website can be accessed through the internet. Don’t get confused here; the domain name is the URL of your website, whereas hosting is a process where your website will be put on to the internet.
- SETUP YOUR ACCOUNT
- ‘Your hosting providers will provide you with cPanel, which is a web-based hosting control panel. With this, you can easily manage your website from a web-based interface.’
- Once through with the hosting and domain name, setup your cPanel account by following simple steps.
- i. Click on Web-Hosting
- ii. Go to Account Functions
- iii. Create a New Account
- iv. Fill the Domain Information Section & other fields
- v. Click Create
- INSTALL WordPress
- i. Go to cPanel
- ii. Install WordPress Application
- iii. Enter Username & Password
- iv. Enter Email Address & Site’s Title
- v. Install
- Install WordPress on your hosting server, only after which you can control your website through the WordPress dashboard.
- WEBSITE CUSTOMIZATION
- You can easily get access to thousands of free WordPress themes. WordPress themes can be easily uploaded, all you have to do is use the dashboard, add a new theme and upload.
- PRE WEBSITE LAUNCH ACTIVITIES
- i. Include blogs, create Webpages
- ii. Create a Simple Navigational System
Your website is ready and if you need more features you can always use plugins.

 +91 8277203000
